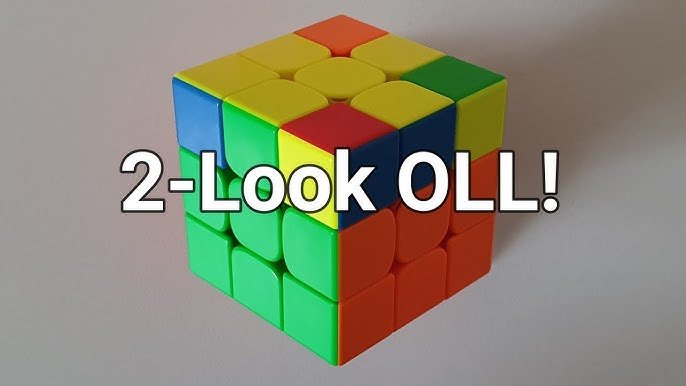
If you’re venturing into speedcubing, you’ve probably come across the phrase “2 Look OLL.” While it might sound technical, it’s actually a simple and effective method to tackle the final steps of solving a Rubik’s Cube. This guide will walk you through what 2 Look OLL is, why it’s important, and how to master it with confidence.
What Is 2 Look OLL?
OLL stands for “Orientation of the Last Layer,” a stage in the CFOP (Cross, F2L, OLL, PLL) method commonly used by speedcubers. The 2 Look OLL method breaks this step into two distinct stages rather than solving it all at once. Its main goal is to orient all the pieces on the last layer (so they all face the same direction) using simpler, more manageable algorithms.
Instead of memorizing all 57 OLL algorithms, 2 Look OLL allows you to solve the last layer using just 3-4 algorithms. This makes it ideal for beginners who want to get faster without being overwhelmed by complexity.
Why Is 2 Look OLL Important?
- Reduces Complexity – By splitting the orientation into two steps, beginners can ease their way into the CFOP method.
- Builds a Strong Foundation – It’s a stepping stone to more advanced solving techniques like full OLL knowledge.
- Saves Time with Fewer Algorithms – Memorizing fewer algorithms saves brainpower while still enabling you to achieve impressive solve times.
Now that we know what 2 Look OLL is, let’s break it down step by step! To complete the 2 Look OLL process, you’ll go through two stages in this order:
- Orienting the Edges
- Orienting the Corners
Stage 1: Orienting the Edges
The first step is to make sure all the edges on the last layer face upwards, forming a yellow cross (assuming the yellow side is your last layer). You’ll use one of two algorithms, depending on the pattern you see on the top of the cube:
- Dot Case (no edges are oriented):
- L Shape Case (two edges form an “L” shape):
- Line Case (two edges form a straight line):
Repeat the appropriate algorithm until you achieve a full yellow cross.
Stage 2: Orienting the Corners
Once the edges are oriented, the second step is to align all the last layer’s corners, ensuring they are yellow-side up. This requires memorizing just 2-3 simple algorithms, depending on the corner pattern:
- No Yellow Corners (or “Soon” cases):
Algorithm #2 (anti-Soon): L' U' L U' L' U2 L
- Headlights Pattern (two yellow stickers on one side):
- All Corners Solved (Skip Case)
If all corners are already yellow, congrats—you’re done with 2 Look OLL!
Repeat the corner orientation step until all the yellow (top layer) stickers are facing upward.
Tips for Learning & Improving Your 2 Look OLL
- Take It Slow: Start by mastering one algorithm at a time.
- Finger Tricks Matter: Learn finger tricks to execute moves fluidly, saving precious milliseconds during a solve.
- Drill Each Case Separately: Use a cube-solving app or trainer to practice edge and corner orientation cases in isolation.
- Track Your Progress: Time your solves regularly to measure improvement and identify problem areas.
- Build Muscle Memory: Focus on repetition—over time, the moves will become automatic.
Why 2 Look OLL Works for Beginners
Many advanced cubers started with 2 Look OLL before transitioning to the full OLL method.
Final Thoughts
Whether you’re just starting or looking to speed up your solves, 2 Look OLL is your friend. With a few simple algorithms and consistent practice, you’ll see dramatic improvements in your Rubik’s Cube solving speed. Stick with it, and don’t forget to have fun along the way!


